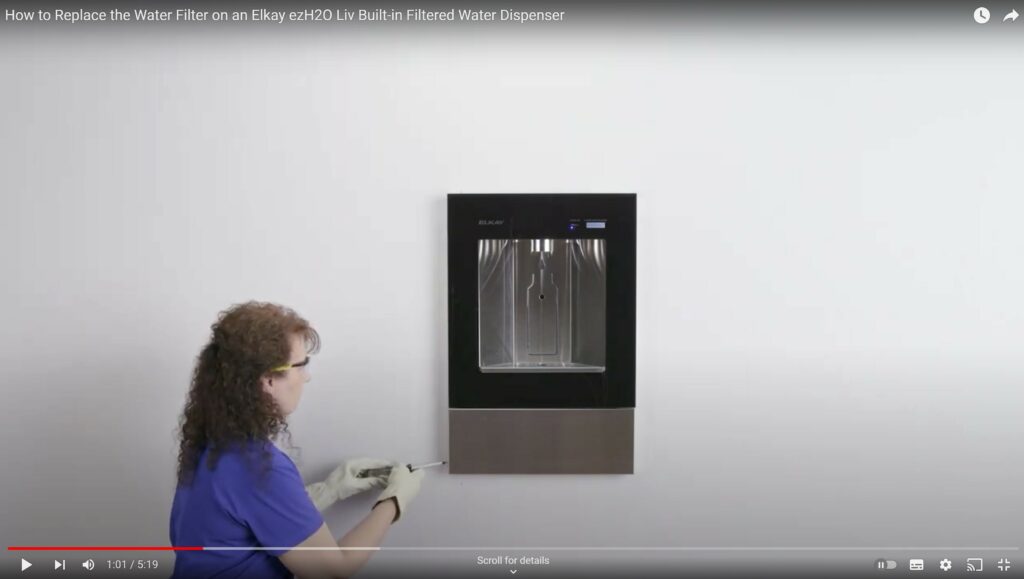
This guide demonstrates how to replace the filter on your Elkay ezH2O LivPro. There are two filter installation options: filter box or remote filter. Follow the instructions that match your dispenser’s setup.
Before you begin:
- Make sure you have a new Elkay ezH2O Liv Pro water filter cartridge.
- Gather some safety equipment: cut-resistant gloves and safety glasses.
- You’ll also need an Allen wrench for the filter box option.
Elkay LivPro Filter Box Installation
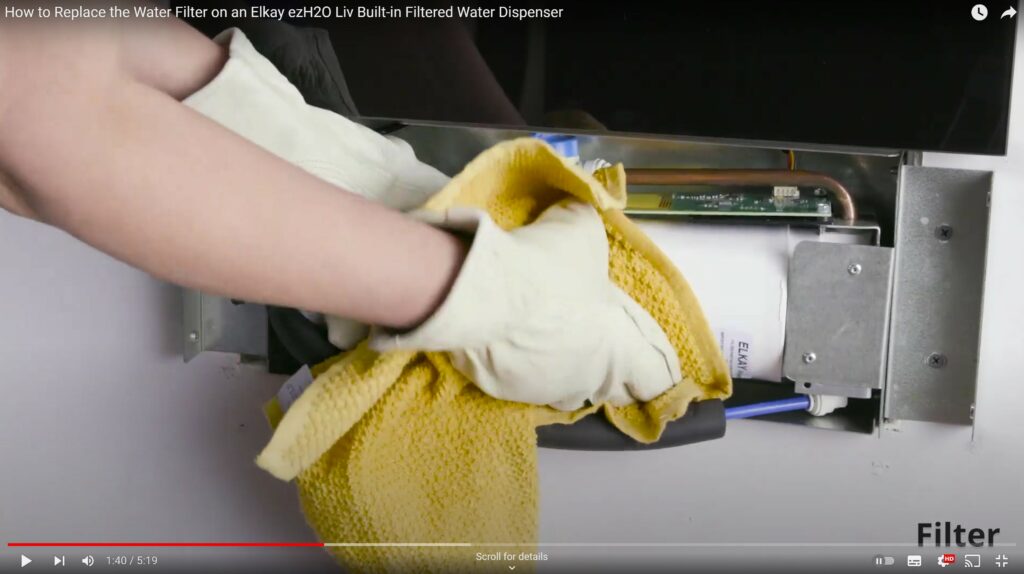
Access the Elkay Filter:
- Locate the filter box on your dispenser.
- Use the Allen wrench to remove the four screws securing the filter box cover.
Turn Off the Water and Relieve Pressure:
- Locate the shut-off valve inside the LivPro filter box and turn the handle clockwise to shut off the water supply.
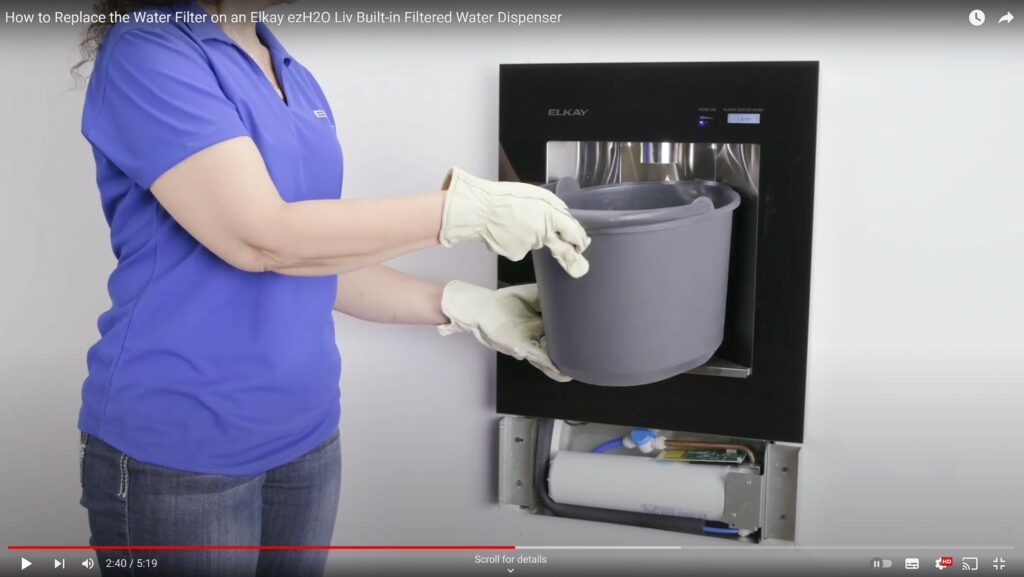
- Place a bucket under the dispenser and activate the water dispenser to relieve pressure in the line.
Turn Off Power and Disconnect the Water Line (Optional):
- Shut off the power to the unit at the circuit breaker for additional safety. (Note: This step may not be necessary in all situations.)
- Lift the water line as you remove the old filter.
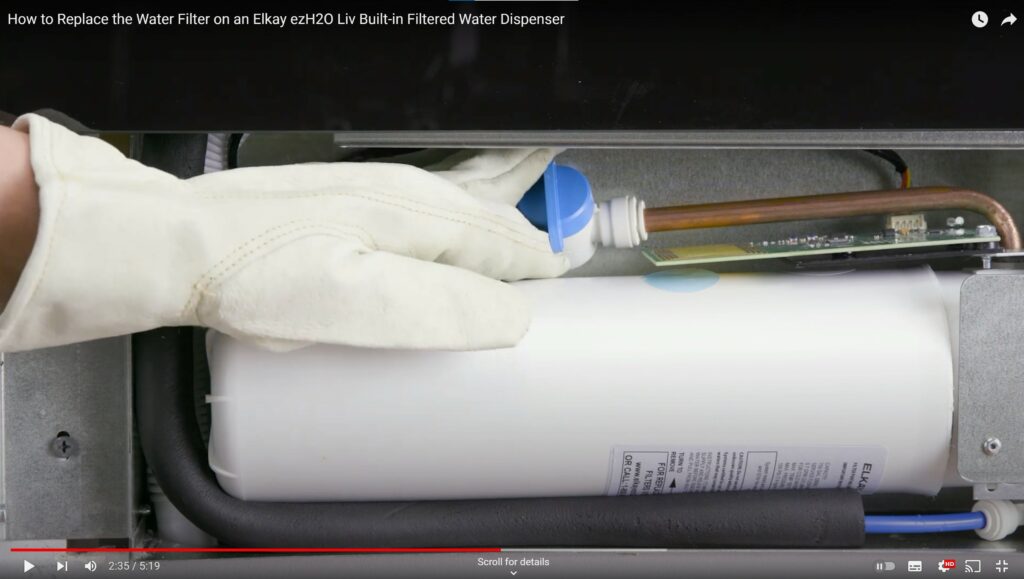
Remove the Elkay Old Filter:
- Place a towel inside the filter box cavity to absorb any spills.
- Twist the old filter counter-clockwise about a half turn until it disengages.
- Quickly remove and hold the filter upright to prevent leaking.
- Drain the filter by placing it upside down in the bucket before disposing of it.
Install the New Elkay LivPro Filter:
- Remove the protective cap from the new filter cartridge.
- Write the current date on the designated label on the new filter.
- Insert the new filter firmly into the LivPro filter head and twist it clockwise a quarter to half turn until secure.
Turn On Power and Water Supply:
- Restore power to the unit at the circuit breaker (if you turned it off earlier).
- Slowly open the water supply valve.
Flush the LivPro System and Check for Leaks:
- Place a bucket under the dispenser to activate the fill sensor and dispense at least one gallon of water. This purges air and carbon particles from the new filter. The water may appear greyish due to air and carbon being flushed.
- The auto-shutoff will activate after 20 seconds. Remove and replace the bucket to reactivate the sensor and continue dispensing until a gallon of water has been flushed.
- Check for leaks around the filter head.
Reassemble the Elkay LivPro:
- Reinstall the filter box cover and secure it with the four screws.
Verify Filter Status Light:
A steady blue light indicates successful filter installation. A blinking red light means the filter is not installed correctly. If red, follow the steps to reinstall.

Remote Filter Installation (Skip to 3:30 in the video if applicable)
Follow steps 1-4 from the “Elkay LivPro Filter Box Installation” section above to turn off the water supply, relieve pressure, and remove the old filter.
Install the New Elkay LivPro Filter:
- Write the current date on the designated label on the new filter cartridge.
- Remove the protective cap from the new filter cartridge.
- Insert the new filter firmly into the filter head and twist it clockwise a quarter to half turn until secure.
Turn On the Water Supply and Flush the LivPro System:
- Slowly open the water supply valve.
- Place a bucket under the LivPro dispenser to activate the fill sensor and dispense at least 4 litres of water. The water may appear greyish due to air and carbon being flushed.
- The auto-shutoff will activate after 20 seconds. Remove and replace the bucket to reactivate the sensor and continue dispensing until 4 litres of water has been flushed.
Verify Filter Status Light:
- A steady blue light indicates successful Elkay filter installation. A blinking red light means the filter is not installed correctly. If the light is red, follow the steps to reinstall.
Enjoy fresh, filtered water from your Elkay ezH2O Liv Pro!
Remember to consult the video for a visual demonstration of these steps.